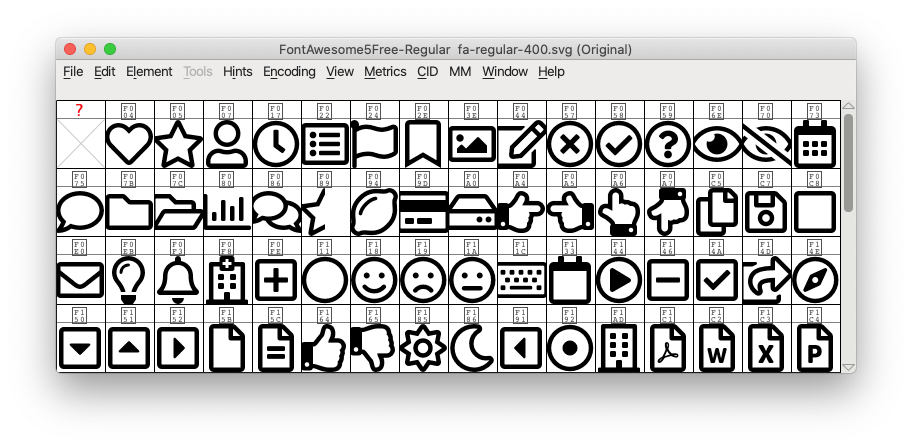
Font Awesome is a wonderful, quick and easy way to include icons on your website. The icons are provided in the form of a font – you simply reference the icon you want and it loads up. No worrying about file resolutions or colours, and there are thousands of different icons available. 16,083 icons at the time of writing – and 2,009 you can use completely free of charge. Many WordPress themes come with Font Awesome integrated, or there are plugins available to add them to your site if they aren’t already there.
One of the downsides to this ever-growing library is that the font files used have become quite large. You can integrate them onto your site using a free public CDN copy to reduce the load and increase the chance that users have a local copy cached. Through a preference not to use any public CDN for privacy and tracking reasons, this wasn’t a solution for us.
As a starting point, we were using 2 font awesome fonts on our website – Brands & Regular (pro). These were the latest woff2 format but they still represented a 240kb chuck of our website, around 30% of its total size.
Step 1 – Download the fonts
You can download your starter fonts from Font Awesome, here: fontawesome.com/v5/download – you need the Web version. We’re using v5 in this instance as an SVG version of the font is included. If you wish to use v6 you’ll first need to convert a TTF font into SVG format.
Once you unzip your download you’ll see a folder called ‘webfonts’ containing the files you need.
Step 2 – Install Font Forge
Font Forge is a freely available piece of software, designed to allow you to create or edit fonts. It is available for Windows, Mac and Linux.
https://fontforge.org/en-US/downloads/
Step 3 – Open up the the font in Font Forge
Just click ‘File’ followed by ‘Open’ and select the SVG version of the Font Awesome collection you wish to start with.

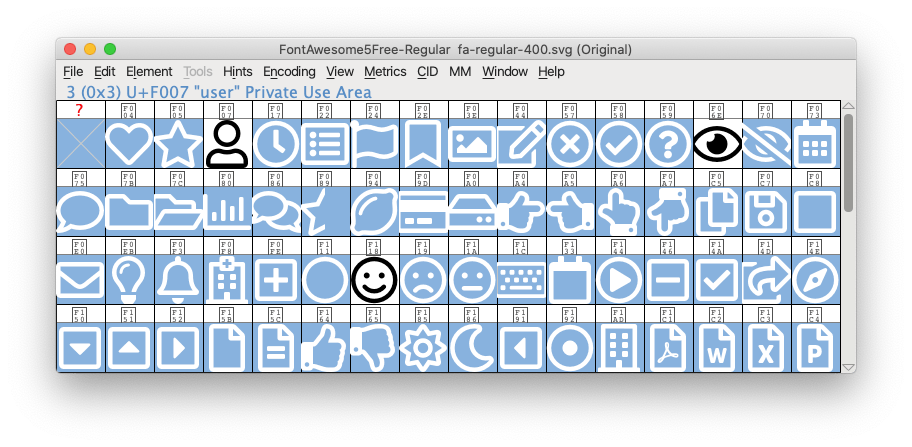
Now, scroll through and select the icons you wish to use. You can select multiple fonts by using Shift+click on Mac or cmd+click on Windows.
When you have the ones you want, click the ‘Edit’ menu, go to ‘Select’ then ‘Invert Selection’. The icons highlighted should now be the ones we wish to remove.

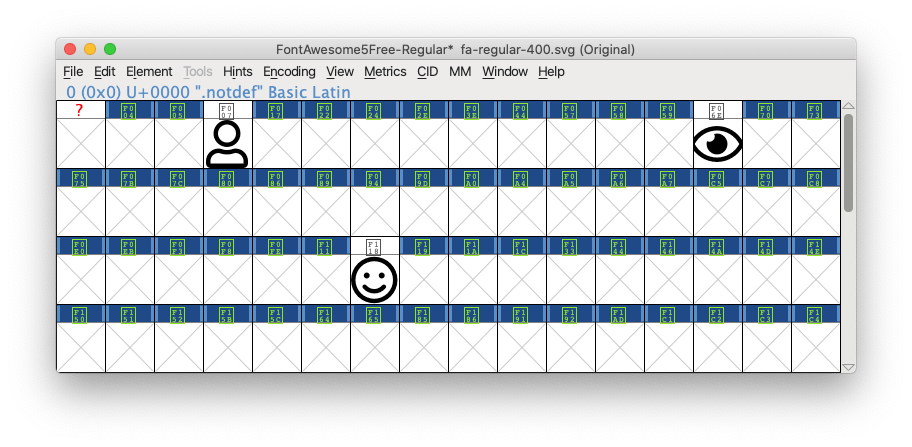
From the ‘Edit’ menu, select ‘Clear’. We will now just have the icons left that we wish to use.

To export the font, click ‘File’ and ‘Save As’ then select a file name and location. The exported file will be a .SFD file.
Step 4 – Convert the file to woff2 format
Woff2 is now the most common and best-suited font file format for most use cases. To convert our new font we need to use an online tool. Everything Fonts provides an excellent converter here: everythingfonts.com/sfd-to-woff2
Step 5 – Replace your existing font file
After making a backup copy of the original file, just in case, you should now be able to replace it with your new file without any further changes. Make sure the file name remains the same.
For many WordPress themes, you’ll be able to select the new file as part of the configuration to make this job even easier.
If you’re currently downloading your Font Awesome file from a CDN you may also need to switch any references, or update plugin settings, to use your new file. You’ll also need to upload it to your website.
Size Changes
For our own site, the files were reduced in size to just 4kb. That’s a saving of 236kb for every visitor, with no visible difference to the website. As a result, it will load faster helping both improve the experience for visitors and, hopefully, improve our search rankings too! Not bad for an hour’s work.
Recent Posts
Recent Comments
- anonymous1024 on Pi-hole vs AdGuard Home
- Konrad on Add https to Pi-hole with caddy
- jolu on Add LetsEncrypt SSL certificate to Pi-hole
- Mike on Add https to Pi-hole with caddy
- Kamyar on Pi-hole vs AdGuard Home
